

How to Apply a Credit Memo for a Customer
 In Quickbooks, a credit memo is a type of posting transaction that can either be applied to a customer’s invoice, or as a payment or reduction. It’s used primarily to offset a customer’s balance. While many users are familiar with the concept of credit memos, few know how to apply them. So if you’re looking to apply a credit memo in Quickbooks, keep reading for a step-by-step walkthrough.
Before we begin, it’s important to note that a credit memo will affect the respective customer’s balance. After all, that’s what it’s used for. It will not, however, affect the customer’s invoice until you apply it manually.
To apply a credit memo, log into your Quickbooks account and click the (+) sign, followed by “Credit Memo.” If you don’t see this option, click “show more,” at which point the “Credit Memo” option should appear. Next, complete all requested fields on the Credit Memo page. When finished, click “Save and new” or “Save and close.”
Now that you’ve created a credit memo, you’ll need to apply it to the appropriate customer. Go back and click the (+) icon, followed by “Receive Payment.” Next, complete the fields, including customer, date, amount, payment method, and deposit to. You can also fill in the memo field, though this is completely optional and not required when applying a credit memo.
After completing the fields mentioned above, select the Invoice to which you want to apply the credit memo. Next, select the credit memo that you wish to apply to the invoice. You will then need to verify the total to pay is accurate, and after doing so, click “Save” to complete the changes.
According to Intuit, you can also enter a delayed credit if you want to apply it as a line item on the customer’s next invoice. This is done in a similar manner by clicking the (+) icon, followed by “Delayed Credit.” You’ll then need to complete all of the fields (the same as mentioned above), after which you can click “Save and new” or “Save and close.” Applying a delayed credit to an invoice requires the same steps as a traditional credit memo, which you can find listed above. Hopefully, this gives you a better understanding of how to apply a credit memo to a customer in Quickbooks.
Did this tutorial work for you? Let us know in the comments section below!

How to Transfer Quickbooks to a New Computer
 Thinking about upgrading to a new computer? Regardless of your business’s industry, you’ll probably need a computer to perform certain tasks. You can use it to manage your customers/clients, send emails, perform research, keep track of expenses and revenue, and more. Eventually, however, you’ll need to replace your computer. Assuming you have Quickbooks installed on your old computer, it’s important to transfer your files over to your new computer, which is something that we’re going to discuss in this blog post.
Create a Backup of Your Computer File
It’s always a good idea to create a backup copy of your Quickbooks company file just in case something goes wrong. If your data becomes corrupt or otherwise malfunctions, you can rest assured knowing that your sensitive and critical information is safe and secured in a backup copy. Follow the steps listed on Intuit’s website to create a backup of your company file.
Restore Backup on New Computer
After creating a backup of your Quickbooks company file, you should transfer it over to your new computer. You can do this in one of several ways, including emailing the file to yourself and opening the email on your new computer; using a USB flash drive, CD/DVD; or external hard drive. Once transferred to your new computer, go ahead and install Quickbooks (the same version as installed on your old computer). Next, restore the backup file on your new computer, after which you can uninstall Quickbooks from your old computer.
Other Tips for Transferring Quickbooks to a New Computer:
- Be sure to rename your Quickbooks company file so you don’t install an older version.
- When using payroll, download the most recent tax table after transferring the company file to your new computer.
- Do not attempt to overwrite a company file. Intuit recommends renaming it before you restore a copy, as discussed above.
- While transactions and other company information is transferred during a backup, information from add-ons such as Fixed Asset Manager are not transferred. Therefore, you’ll need to move them separately when upgrading to a new computer.
- If you run into any problems, try running the Quickbooks File Doctor tool. It’s able to catch and resolve many common problems associated with transferring your company file to a new computer.
Did this tutorial work for you? Let us know in the comments section below!
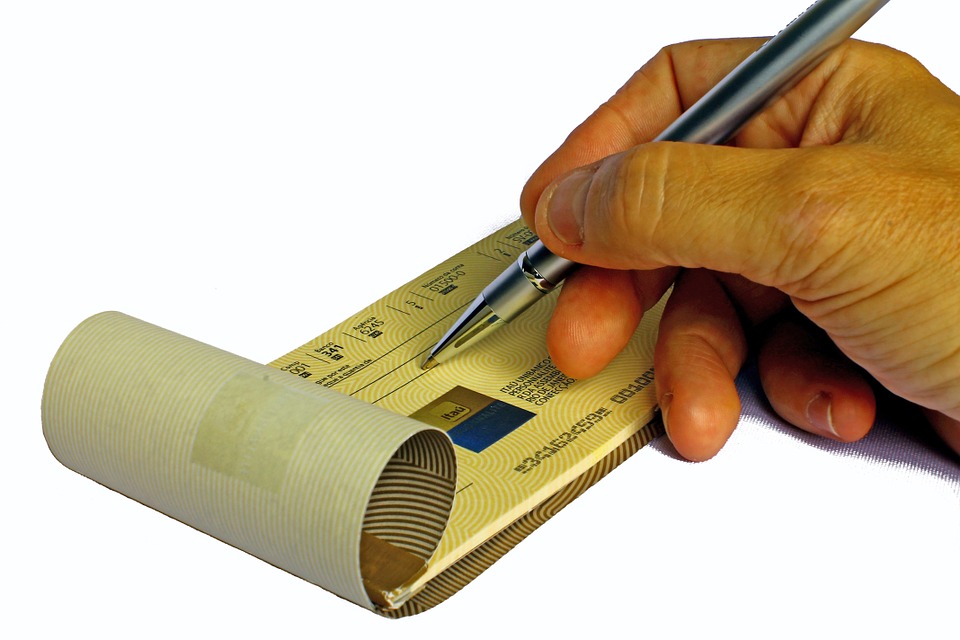
How to Void a Check Printed in a Previous Year
 Do you need to void a check printed in a previous year? Using Quickbooks, you can perform this task without it affecting your financial statements.
Before you begin, you should create a backup of your Quickbooks company file. It’s always a good idea to create a backup whenever making changes to your checks such as this. If something goes wrong, you can restore the backup and start over. Hopefully, you won’t need the backup copy, but just having it gives peace of mind knowing that your sensitive data is safe in the event of an unforeseen problem.
To void a check printed in a previous year, log into your Quickbooks account to access and print the check. Next, go ahead and void it by following the steps outlined on Intuit’s help website here.
Next, you’ll need to recreate the check — only this time as a journal entry. This step is important because without a journal entry, there’s no record of the check; thus, it will affect your books. Open the check in the bank account register and press Ctrl+Y to open the Transaction Journal report. From here, click the File menu and choose “Print Report” to print the report. Next, click the File menu again and choose “Save as PDF.” This will save the report as a PDF file, which you can access later. Choose the Company menu and select “Make General Journal Entries.” In this newly created window, enter the date of the check in the respective date field.
From the “Account” drop-down menu, select the account from which the original check was debited. Enter an amount for the check in the “Debit” field, as well as a name for the check in the “Name” field. Next, enter the amount of the check in the “Credit” column. When you are finished, click “Save and New” to record the entry and exit the window.
Last but not least, go back and create a second journal entry, only this time reversing the values. When you are finished, go back and reconcile your account to ensure everything adds up. If your books are still off, you can always restore a backup copy of your company file, assuming you created one earlier. However, these steps should allow you to void a check from a previous date without it affecting your books.
Did this tutorial work for you? Let us know in the comments section below!
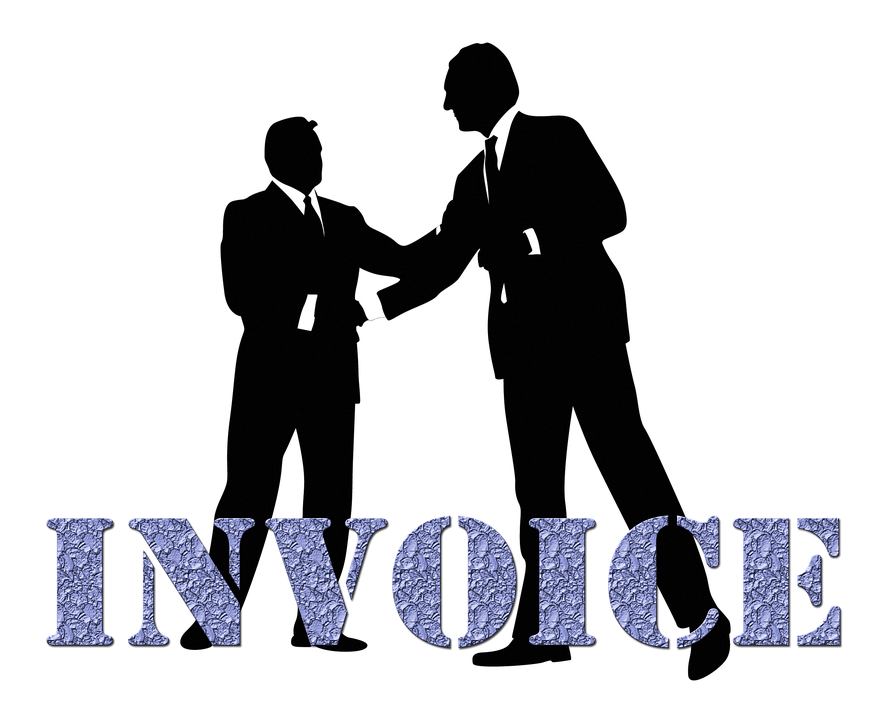
How to Change the Invoice Number in Quickbooks
 Looking to change the invoice numbers of invoices created in Quickbooks? While the invoice number doesn’t affect the contents or functionality of the invoice, it can still help business owners and accountants for reference purposes. Therefore, some users may want to create their own invoice numbers. Quickbooks allows users to change the numbers on their invoice in just a few simple steps. To learn more about invoice numbers and how to change them, keep reading.
To change the invoice number in Quickbooks Online — the cloud-based accounting solution by Intuit — log into your account and click the Gear icon in the upper-right corner, followed by “Account and Settings” > “Sales,” > and under “Sales From Content” click the option titled “Custom Transaction Numbers,” followed by “Save.” After enabling this feature, you can click on the right invoice number to define the number for future use. All new transactions will automatically populate using the numbers in that sequence. Sorry if you were expecting more, but that’s all it takes to change the invoice number in Quickbooks!
So, what if you need to delete an invoice? Well, this is also something that can be accomplished in just a few quick and easy steps. First, find the invoice in your Quickbooks account. After double-checking to ensure it’s the correct invoice, click the “More” link at the bottom of the invoice, followed by “Delete.” Quickbooks will ask you to confirm the deletion. Assuming you choose “Yes,” it will delete the invoice you just opened.
Keep in mind that when you delete an invoice, it’s gone. The only record that will remain is a copy in the Audit Log, which you can access if needed.
To recap, you can easily chance the invoice numbers in Quickbooks under the “Account and Settings” option. There’s an option here that allows users to choose Custom Transaction Numbers instead of the predefined numbers. Invoice numbers don’t affect any functionality or other important element of the invoice. Rather, they are used for reference purposes. However, that doesn’t mean they are useless. Invoice numbers are an important part of accounting, with business owners and accountants using them to keep track of transactions. Hopefully, this give you a better understanding of invoice numbers in Quickbooks and how to change them.
Did this tutorial work for you? Let us know in the comments section below!
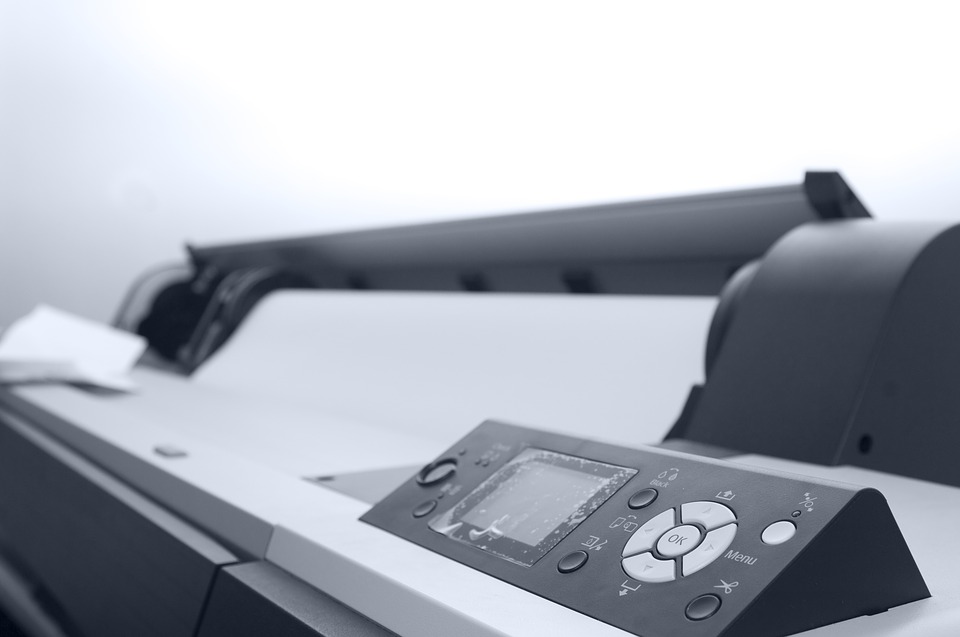
How to Align Paper for Printing Checks in Quickbooks
 Quickbooks allows users to print checks directly from the interface. If your paper isn’t properly aligned with your printer, however, the checks may come out with misaligned elements — and that’s never acceptable in today’s business world. So, how do you align your paper so printed checks don’t feature misaligned elements such as this?
To align your paper for printing checks in Quickbooks, choose File > Printer Setup. Next, click the drop-down menu titled “Form Name” and choose “Check/Paycheck.” From here, you should select the “Voucher” style for your checks. From here, click “Align” on the right-side of the options menu. Assuming you followed these steps correctly, Quickbooks should print a sample check, which you can compared to a preprinted check.
The sample should should feature a grid, much like the way in which your printer aligns itself with a test page. As explained by Intuit, you can move the numbers left one grid by changing the horizontal setting to -10. If you want to move the numbers right one grid, simply change the horizontal setting to 10. By adjusting the horizontal and vertical settings in this manner, you can properly align your paper so the checks print correctly.
It’s important to note that it may take several attempts to fully align your paper. If you repeat the steps listed above, however, you should be able to align your paper so the checks feature all of the correct elements, and without any misalignment issues. Sorry if you were expecting more, but that’s all it takes to align your paper!
You may also want to change the default check printing alignment in Quickbooks. In addition to affecting checks, this also affects vouchers. So if you want to ensure proper alignment with either checks and/or vouchers, it’s recommended that you change the default alignment.
To change the default alignment in Quickbooks, access Transactions > Expenses > Print Checks > Print Setup > click “Print Setup” > click ” No, continue setup” > click the “No, continue setup” button again. Next, you should see a fine-tine alignment page, for which you can adjust the grid by clicking and dragging the edges. When you are finished, click the “View preview and print sample” button in the lower left-hand corner, followed by the printer icon on the print preview. You can then hold the check up to see if it’s aligned. Assuming it is, click “Finish Setup” to complete the process and save your changes.
Did this tutorial work for you? Let us know in the comments section below!

5 Things You Didn’t Know About Quickbooks
 While most people are familiar with Quickbooks, you might be surprised to learn some of the following facts about Intuit’s popular line of accounting software.
#1) There’s a Cloud-Based and Desktop Version
Well, there are actually several different desktop versions of Quickbooks, as well as an online cloud-based version. The latter, known as Quickbooks Online, uses cloud technology so that users can access their account anywhere, anytime. However, there are special third-party providers that can host desktop Quickbooks for users, which also offers this benefit.
#2) 85-90% of Small Businesses Use it
Statistics show that between 85 and 90% of all small businesses operating in the United States use Quickbooks for their accounting needs. To put that number into perspective, there are around 28 million small businesses in the U.S. With such a large percentage of the market share, it’s no wonder why Quickbooks is the dominant player in the accounting software market.
#3) Intuit Gave Away a Free Superbowl Commercial
Advertising your business during the Super Bowl isn’t cheap. In fact, the average cost of a 30-second TV ad during the world’s most watched program is about $2 to $3 million. But Intuit gave away a commercial slot as part of its Small Business Big Game contest, which you can learn more about by clicking here.
#4) More than 50,000 Accountants Participate in Intuit’s QuickBooks ProAdvisor program
It’s not just small business owners who use Quickbooks. The Quickbooks ProAdvisor program has more than 50,000 professional accountants, CPAs and independent business consultants, according to the NPD Group. Many of these professionals rely on Quickbooks and its features to perform bookkeeping tasks for their respective clients.
#5) You Can Try Quickbooks for Free
Did you know that you can try Quickbooks for free? Intuit offers a 30-day free trial on Quickbooks Self-Employed, Quickbooks Simple Start, Quickbooks Essentials, and Quickbooks Plus. You’ll still need to enter a credit card when signing up. But if you aren’t happy with the service, simply cancel before the end of your 30-day trial period and you won’t be charged. Of course, very few users who try Quickbooks cancel their account, which is probably why some 90% of all small business owners use the software.
These are just a few fun facts about Quickbooks. If you’re ready to get started using Quickbooks, contact us today to learn more.

Why Does a Paid Bill Show ‘Unpaid’ Status?
 When you pay a bill in Quickbooks, it should change the status to “paid.” There are times, however, when bills remain in open/unpaid status even after writing the check in the Quickbooks Write Checks feature. Therefore, you’ll need to perform a few additional steps to keep your books in order.
Remove the Bill
One solution is to remove the bill that’s in open/unpaid status while leaving the Write Checks entry in place. According to Intuit, however, you should only use this option if you don’t need all of your payment data to publish on Accounts Payable.
Link Check to Bill
A second solution is to link the check to the bill. Assuming you’ve already reconciled the check, you can link it to the bill. You can’t, however, delete the check without it affects previous reconciliations. Nonetheless, it’s perfectly fine to link it to the bill. Here are the steps to linking your check to the bill.
Log into your Quickbooks account and change the Expense to Accounts Payable. Next, open the “Customer: Job” drop-down menu and select the respective vendor’s name, followed by “Save & Close.” You aren’t out of the woods just yet, though. There are still several additional steps you’ll need to take to link the check to the bill.
Next, you’ll need to pay the bill by accessing the “Vendors” menu > “Pay Bills.” From here, choose the appropriate bill that corresponds with the check and choose “Set Credits.” Click the box so a check appears on the credit, at which point you can change the amount of the credit. When you are finished, click “Done,” followed by “Pay Selected Bills.” After doing so, the bill should display as paid status. You can check your transaction history to verify this information, at which point the bill should show the regular check as the payment method.
Remove the Check
A third option is to remove the check and pay the bill. Before proceeding, however, you should back up your company file (that’s always a good idea). After backing up your company file, access the Check Register > Banking > Use Register > choose the bank account you used to write the check and click “OK.” From here, find the check you accidentally created, making a note of the details. Now, go back and access the Pay Bills window to remove the check and pay the bill.
Did this tutorial work for you? Let us know in the comments section below!
Intuit and Uber Launch New Tax Tools for Freelance Drivers
 Ridesharing services like Uber and Lyft have become increasingly popular in recent years. These services typically allow individuals to buy transportation services via a smartphone app. Unlike cabs, however, the drivers are freelance workers who use their own cars to carry passengers.
With hundreds of thousands of freelance drivers working for ridesharing problems, there’s a growing need for tools to help these workers keep track of mileage and other related expenses. Well, Uber and Intuit have joined forces to release a suite of new tools for this very purpose.
According to Intuit, nearly one-third of freelance workers do not claim any business-related expenses at tax time. As such, they leave tons of money on the table, while subsequently limiting their income. However, Intuit’s TurboTax division will now offer tax tools to help freelance drivers make better decisions regarding their accounting efforts. These tools include a tax microsite consisting of helpful tips and content, along with 24/7 access to help from a community of experts, and the ability for freelance drivers to transfer their CRA information with auto-fill my return.
“We are always looking for new ways to support driver-partners to make their Uber experience as easy and as simple as possible,” said Ian Black, regional general manager for Uber Canada. “As the tax season approaches, we are pleased to partner with Intuit Canada, who can offer their tools, resources and expertise to driver partners on managing their self-employed business finances.”
Intuit’s Quickbooks Self-Employed is also being beefed up to better meet the unique needs of freelance drivers. This include mileage tracking, expense tracking, receipt capture, effortless invoicing and more. Using the accounting software, drivers can keep track of exactly how many miles they’ve driven, which as you may already know, is a tax-deductible expense for freelance drivers. The new tools also support receipt capture, which is vital for tracking your gas purchases. Freelance drivers typically spend a hefty amount on fuel purchases. To help offset these costs, drivers should keep track of their fuel purchases so they can deduct them from their taxes.
The bottom line is that Intuit is now offering additional tools — in both TurboTax and Quickbooks Self-Employed — to help freelance drivers keep track of their expenses and better prepare for the tax season.
What do you think of these new tools offered by Intuit and Uber?