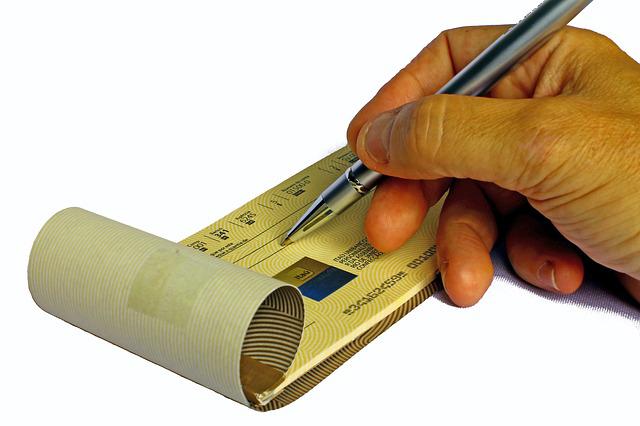
How to Use the ‘Write Checks’ Feature in QuickBooks
 Have you come across the “Write Checks” feature in QuickBooks? It’s available in the locally installed versions of Intuit’s popular accounting software. If you use QuickBooks Desktop, you can find this feature under the “Banking” menu. Selecting the “Banking” menu and choosing “Write Checks” will allow you to record payments. For a better understanding of this feature and how to use it, keep reading.
What Is the ‘Write Checks’ Feature?
The “Write Checks” feature in QuickBooks Desktop is designed to record payments. You can use it to record any type of payment that originated from one of your business’s bank accounts. Maybe you wrote a physical check to pay for a business-related product or service, or perhaps you used a debit card. If you make a payment from one of your business’s bank accounts, you can use the “Write Checks” feature in QuickBooks Desktop to record it.
How to Record a Payment With the ‘Write Checks’ Feature
To record a payment with the “Write Checks” feature, go to the “Banking” menu and choose “Write Checks.” You’ll have to enter some information about the payment. There are about a dozen options on the payment page. In the top-left corner, click the drop-down menu for “Bank Account” and choose the bank account from which you made the payment. You can only choose bank accounts that you’ve already added to QuickBooks. If you don’t see the bank account listed here, you’ll need to add it.
There’s a drop-down menu for “Pay to the Order Of.” As the name suggests, this menu represents the payee. You should select the person or business for which you issued the payment.
You’ll also need to specify a check number. QuickBooks will automatically enter a check number in this field depending on your preferences, but you can choose an alternative and custom check number if you prefer. Along with a check number, you’ll have to specify a date. The date field represents the date on which you want to issue the payment. There
QuickBooks Desktop allows you to print checks at a later date or process them online On the payment page, you’ll see a “Print Later” and “Pay Online” box. Just click the box for your desired payment method. There are a few other options that you’ll need to specify, but most of them are self-explanatory. When finished, click “Save & Close” to complete the process.
Did this tutorial work for you? Let us know in the comments section below!
